Introduction
You can now save your topology map changes as a saved view so that you can quickly return to it later in an easy-to-navigate UI. The Saved Views make it easier for you to switch between different views and you can access them from the hamburger menu in the top left corner of the topology explorer screen.
Save a view
Follow these steps to save a view:
- Click Infrastructure > Topology Maps.
- Select the resource from the drop-down list.The topology explorer is displayed with the base resource you selected and its neighbors including the connections, based on the Depth level.
- Make changes to the map as per your requirements.
- Click the hamburger menu on the top left corner of the explorer.
- Click + and select Add Current View.
You can add a collection and add the view under it.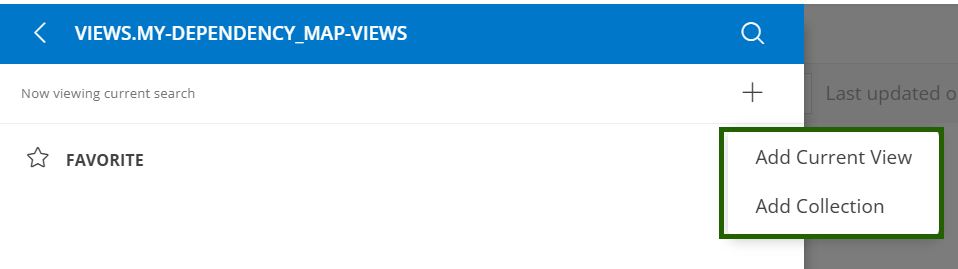
- Provide a name for the view and click ADD.

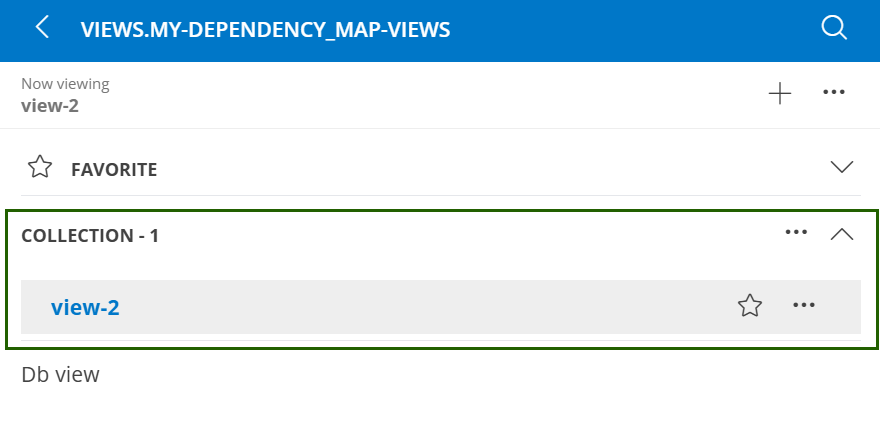
The view is saved and displayed under my Views.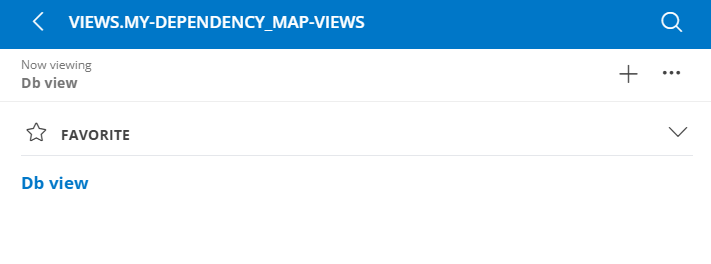
Add collection
Follow these steps to add a collection.
You can save all views under a collection.
- Click the hamburger menu on the top left corner of the explorer.
- Click + and select Add Collection.
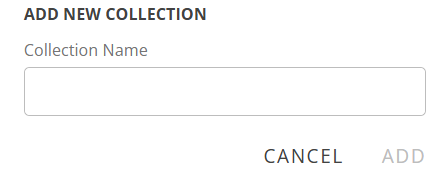
- Provide a name for the collection click ADD.
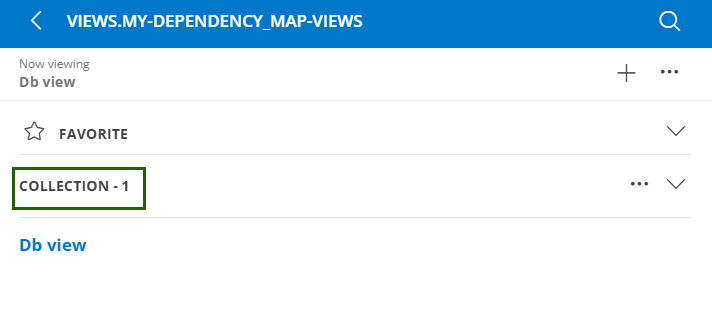
The collection is added and displayed under my Views.
Add view under collection
Follow these steps to add a view under a collection:
- Click the hamburger menu on the top left corner of the explorer.
- Click + and select Add Current View.
- Select collection name from the dropdown and provide a view name.
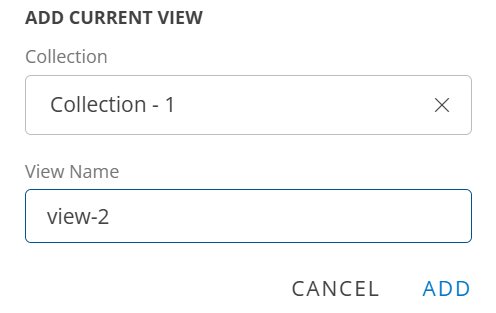
- Click ADD. The view is added under the collection.
Actions on a saved view
You can perform various actions on a saved view. Select a saved view and click the three dots adjacent to the view.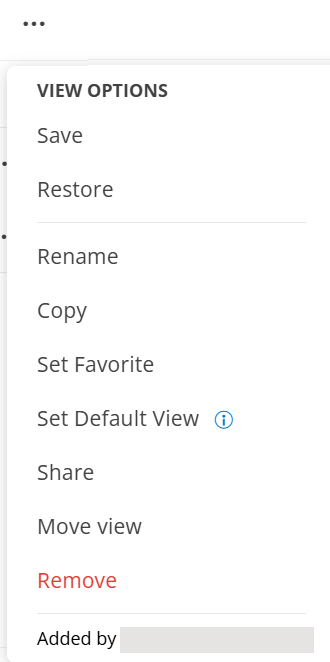
| Action | Description |
|---|---|
| Save | To save the changes made to a view. |
| Rename | You can rename the selected saved view. |
| Copy | You can make a copy of the selected view. |
| Set Favorite | Select a view and make the view as favorite. |
| Set Default View | The selected view can be made as default view. The default view is displayed when you access the topology explorer. |
| Share | Share the saved view to the users client role permissions. |
| Move | Move a view under a collection. |
| Remove | Remove the saved view from the list. |
Share Views
You can share the saved views to the roles that have view or manage permissions. As a client, you can share a view with users that have roles assigned to them.
To share a view:
Click Infrastructure > Topology Maps.
Select the resource from the drop-down list.The topology explorer is displayed with the base resource you selected and its neighbors including the connections, based on the Depth level.
Make changes to the map as per your requirements.
Click the hamburger menu on the top left corner of the explorer.
Select a saved view from the list and click the three dots adjacent to the view.
Click Share.The Share View dialog box is displayed.

Select a role or roles that have been assigned to client users.
- If you select a client role, only client users under that role can view the topology.
- If you select a client role, only client users under that role can view the topology.
Click Share.The view is shared with the selected users.
Set Permissions
You need to enable the View or Manage permission for the client users from: Setup > Account > Users and Permissions > Permission Sets.
See Permission Sets to learn about enabling permissions.
Create a role
Create a role with client scope from Setup > Account > Users and Permissions > Roles.
See Create a role to learn about creating roles.
Assign Roles
Assign the roles to users from Setup > Account > Users and Permissions > Users.
See Users to learn about assigning roles to a user.